When painting the inside of your house, achieving a beautiful finish with ease is the goal. In order to achieve a quality finish, it’s important to be aware of the best way to prepare and paint your space, there are a few steps you need to consider as well as the order in which you go about painting your interior areas. Keep reading to learn more!
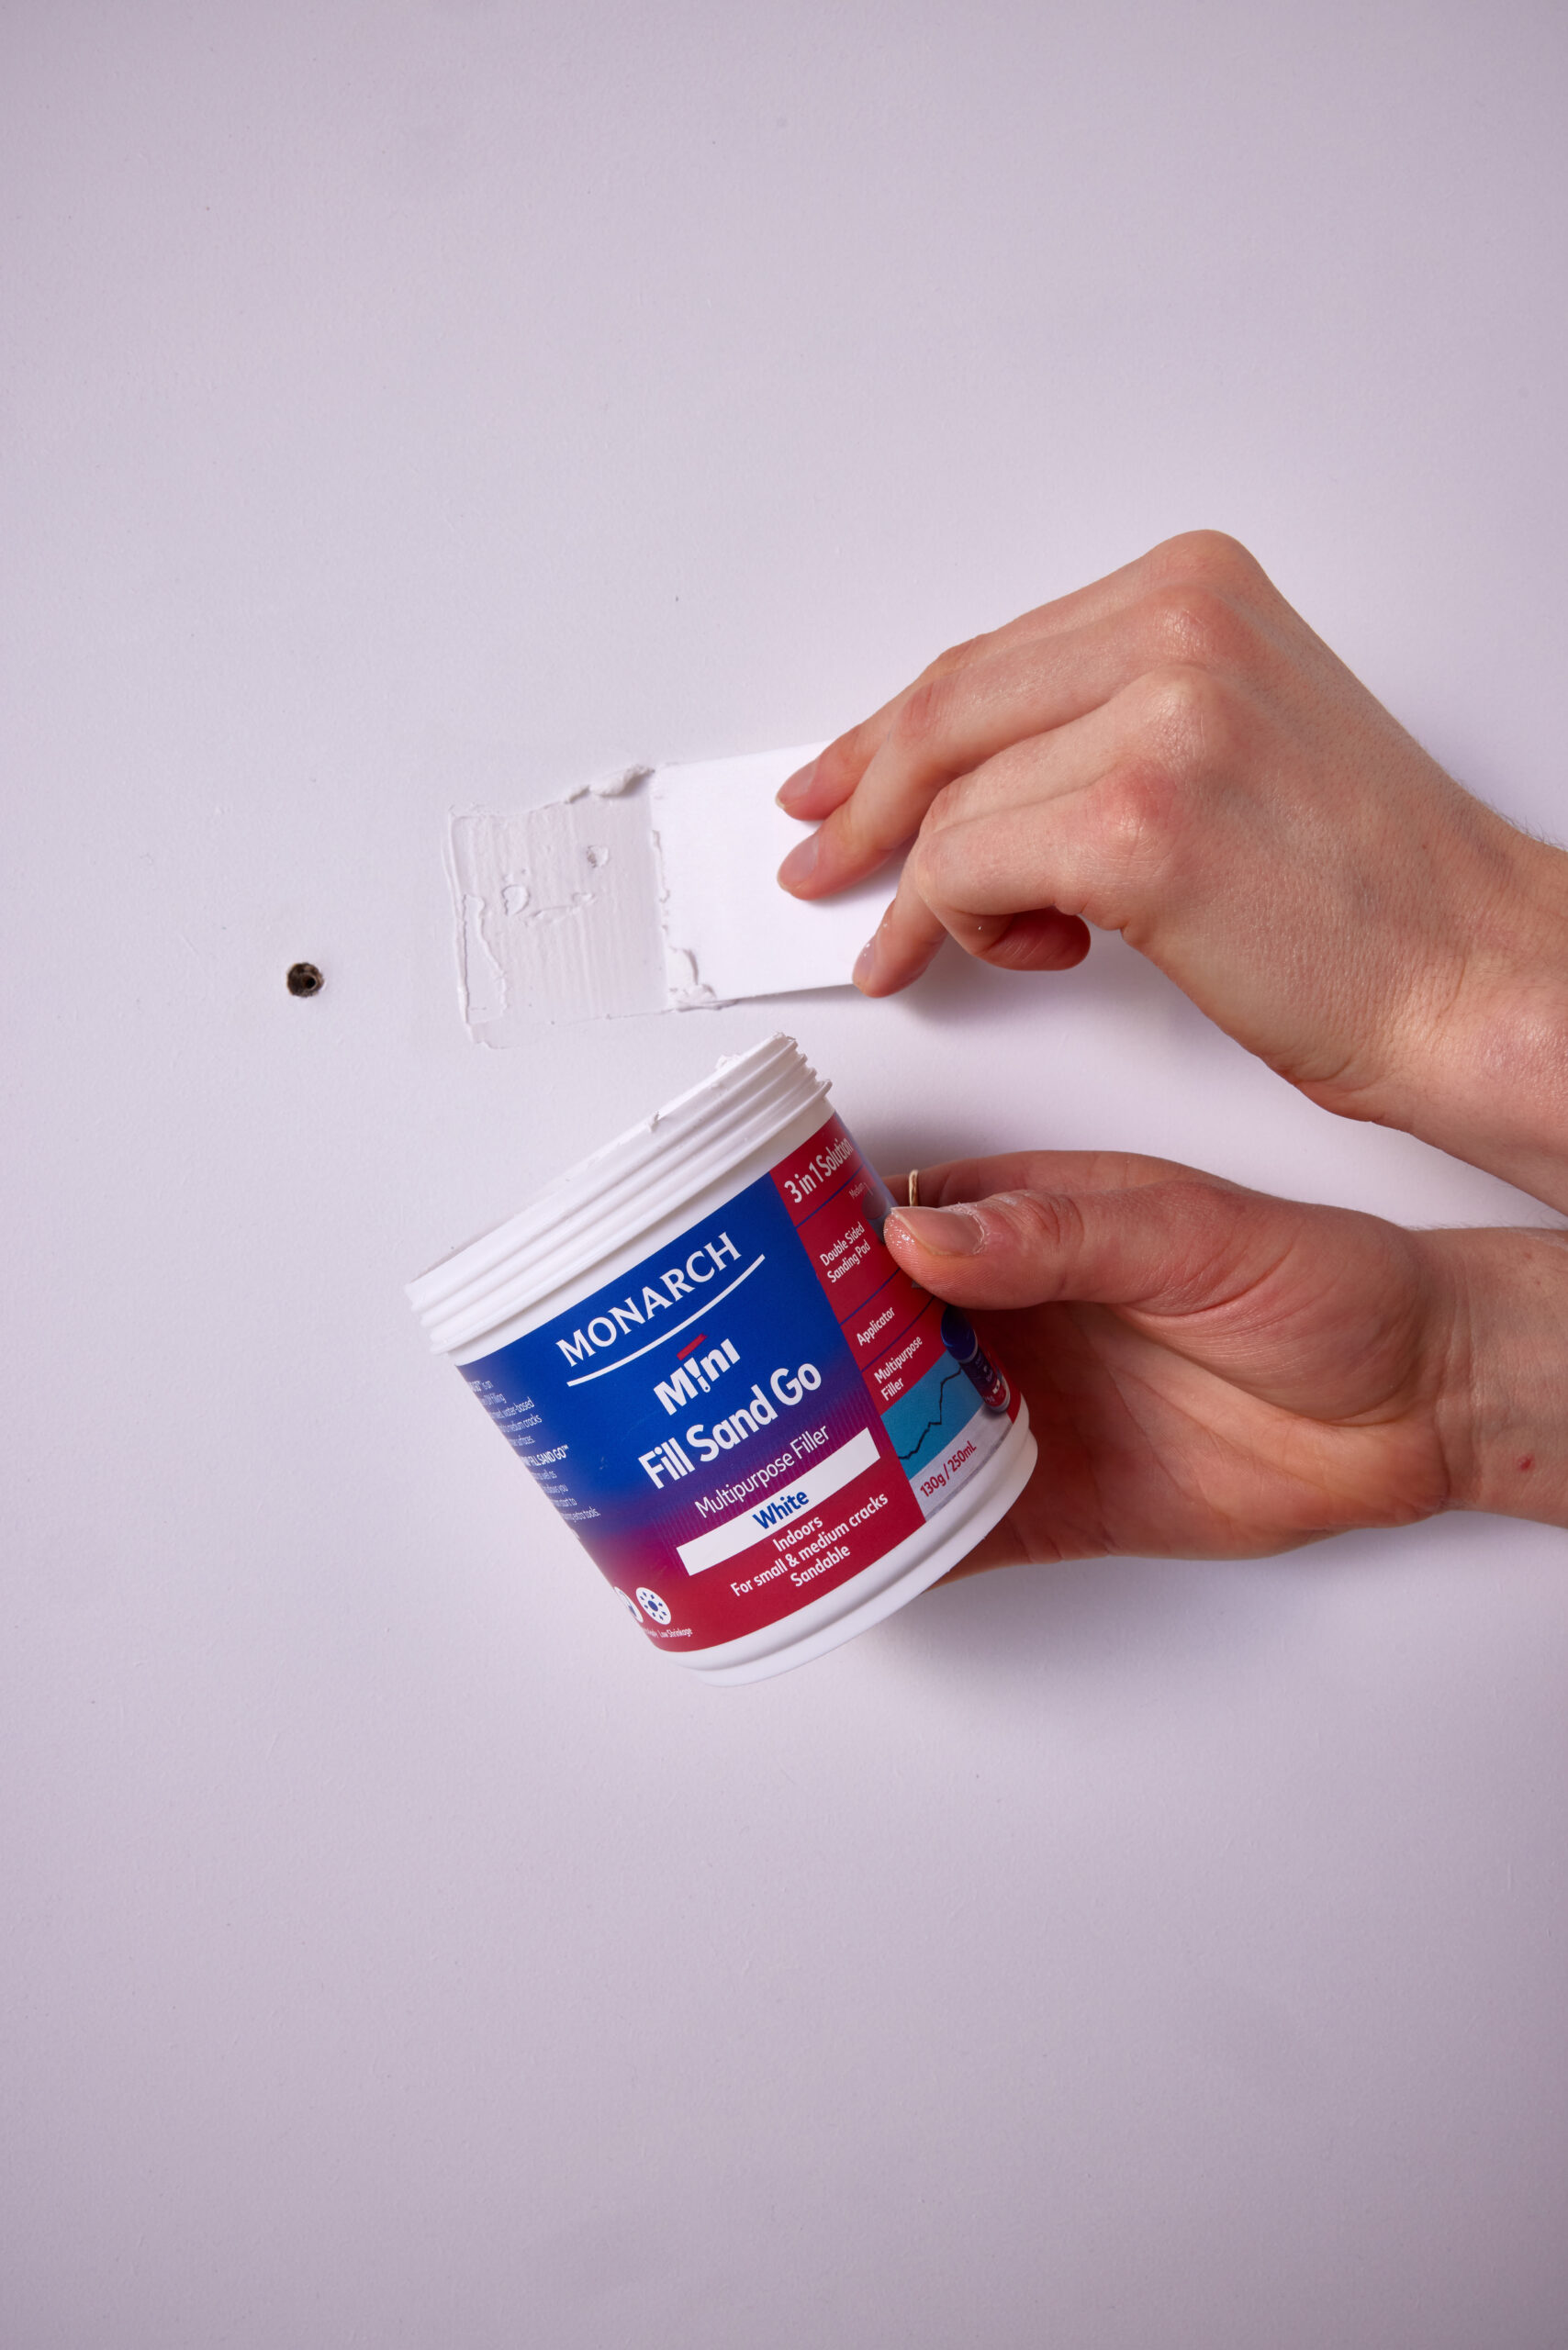
Prepare your surfaces
First, you’ll need to prepare your surfaces. This involves sealing gaps between skirting boards, filling in any surface cracks which may be present on the wall and sand them down using Monarch Mini Fill Sand Go. This will ensure a smooth, even surface.
Wash your surfaces with Sugar Soap to remove any grime or dust. Now you’re ready to paint!
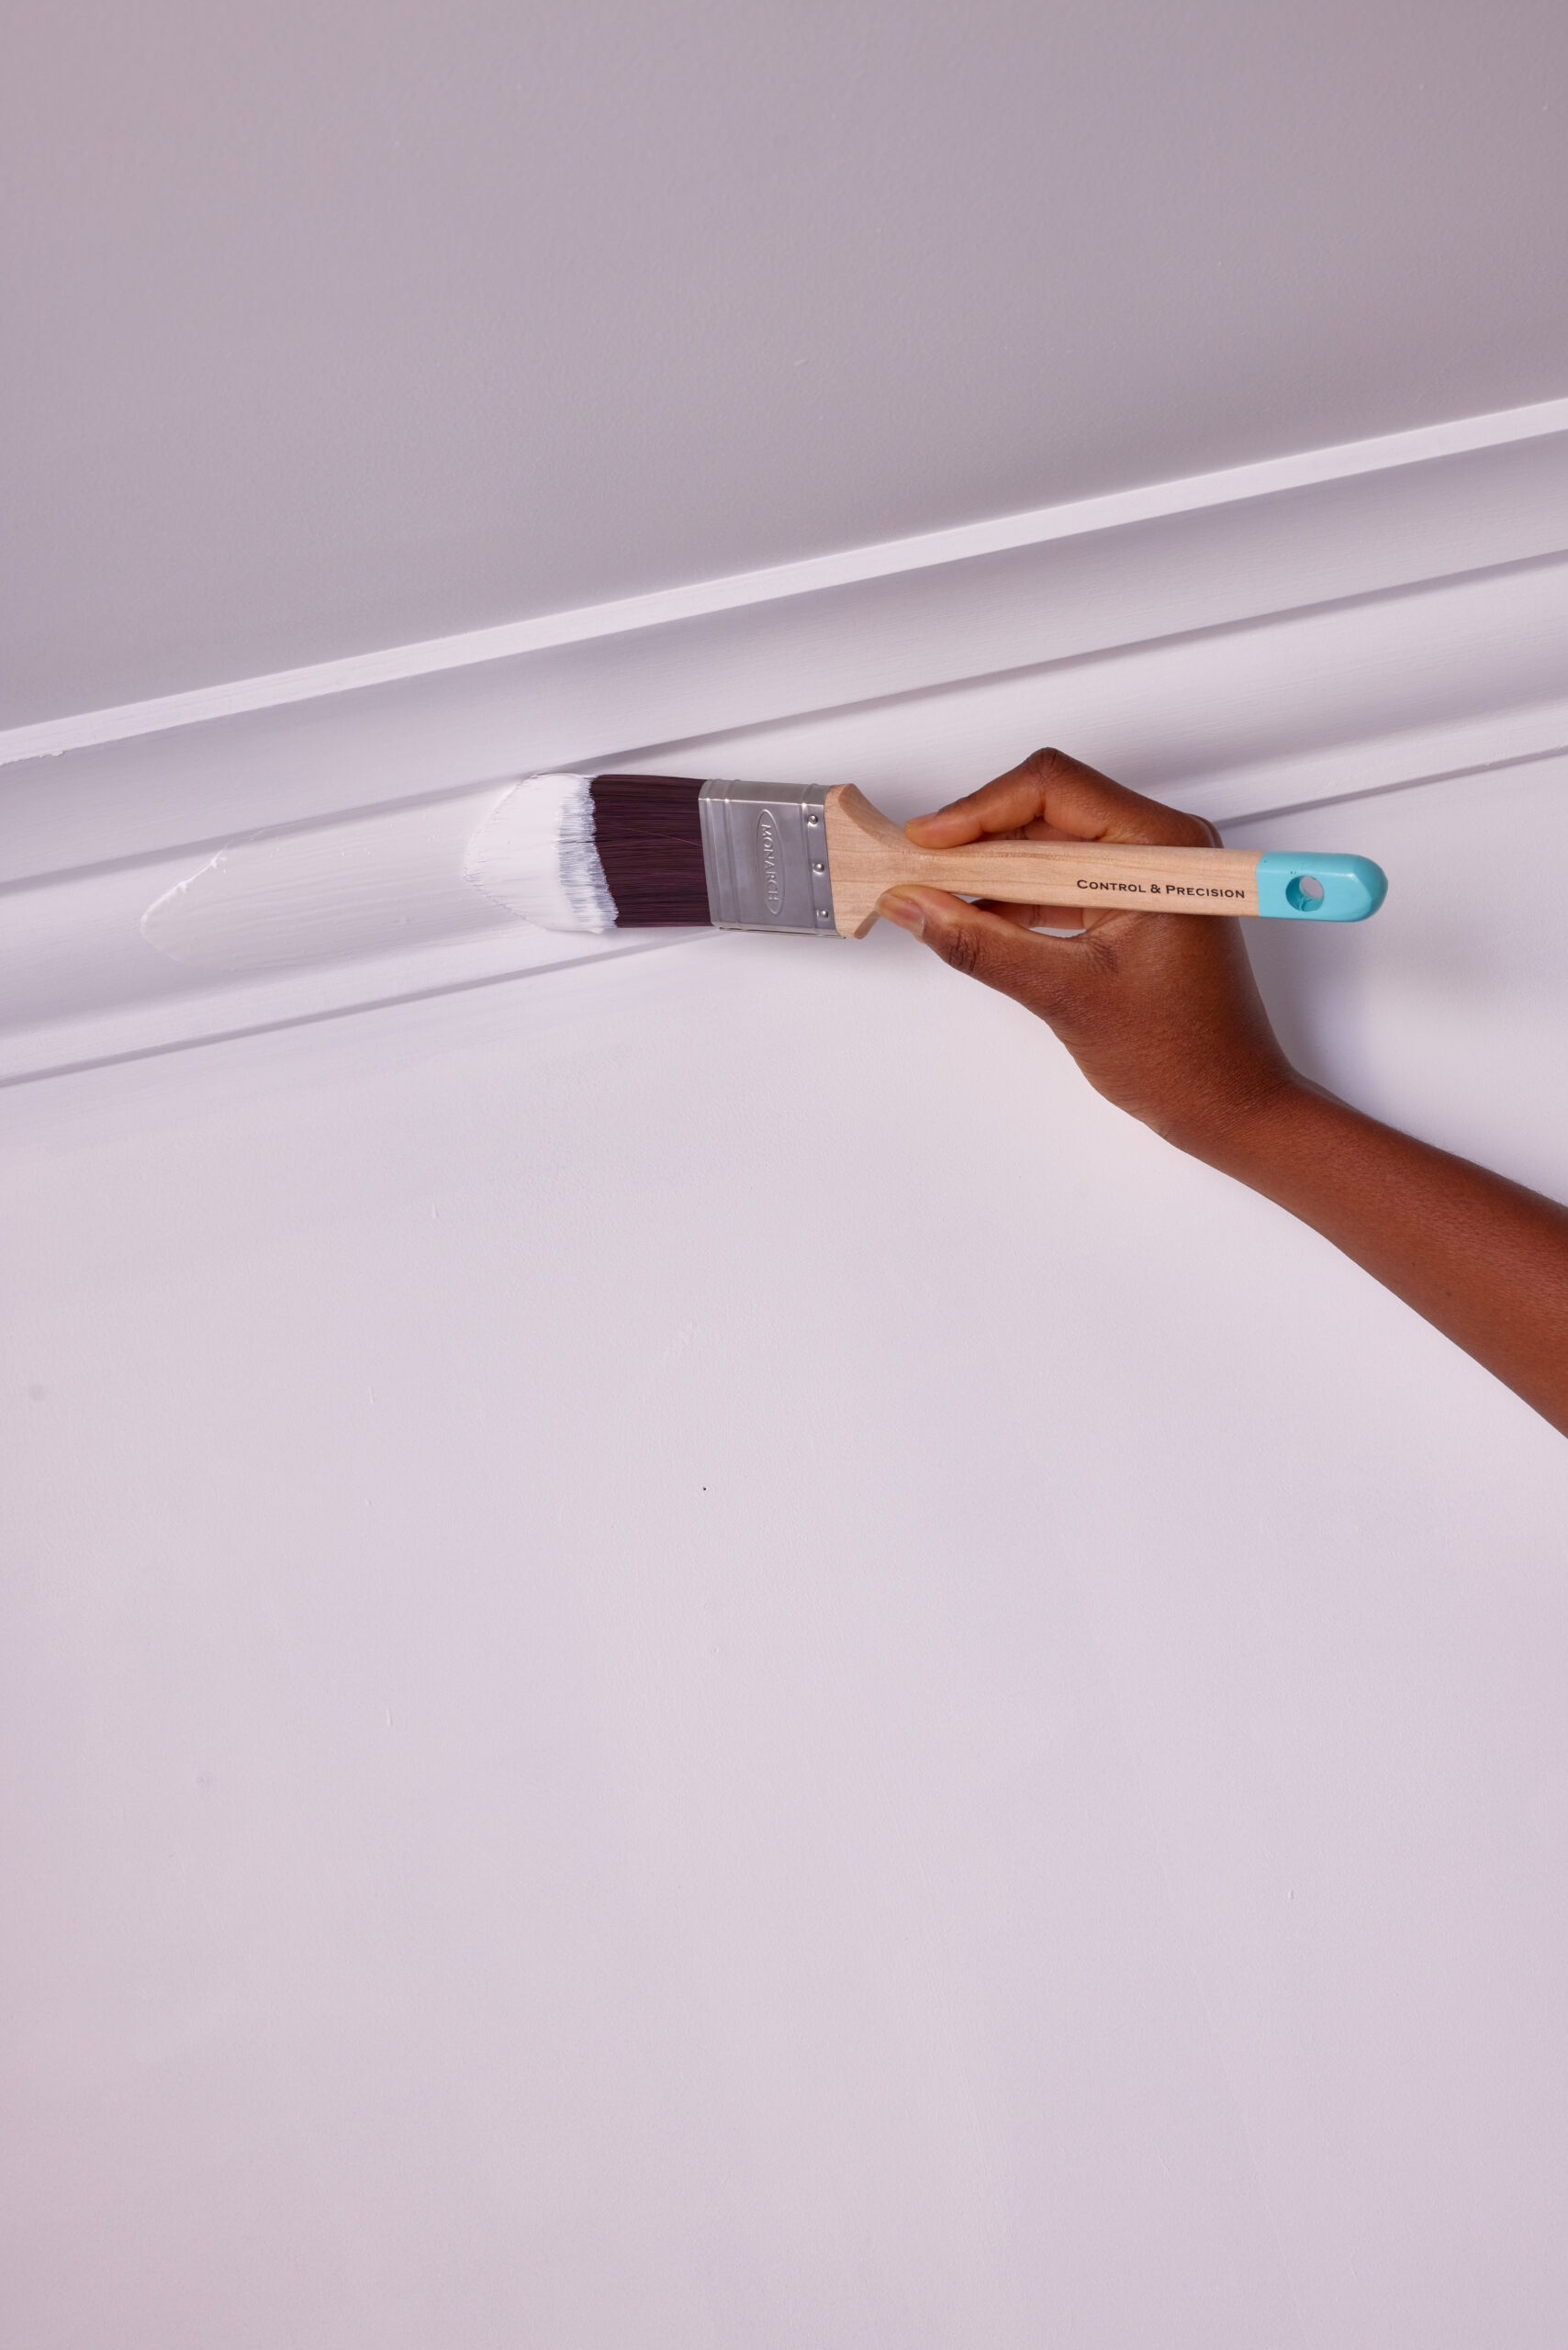
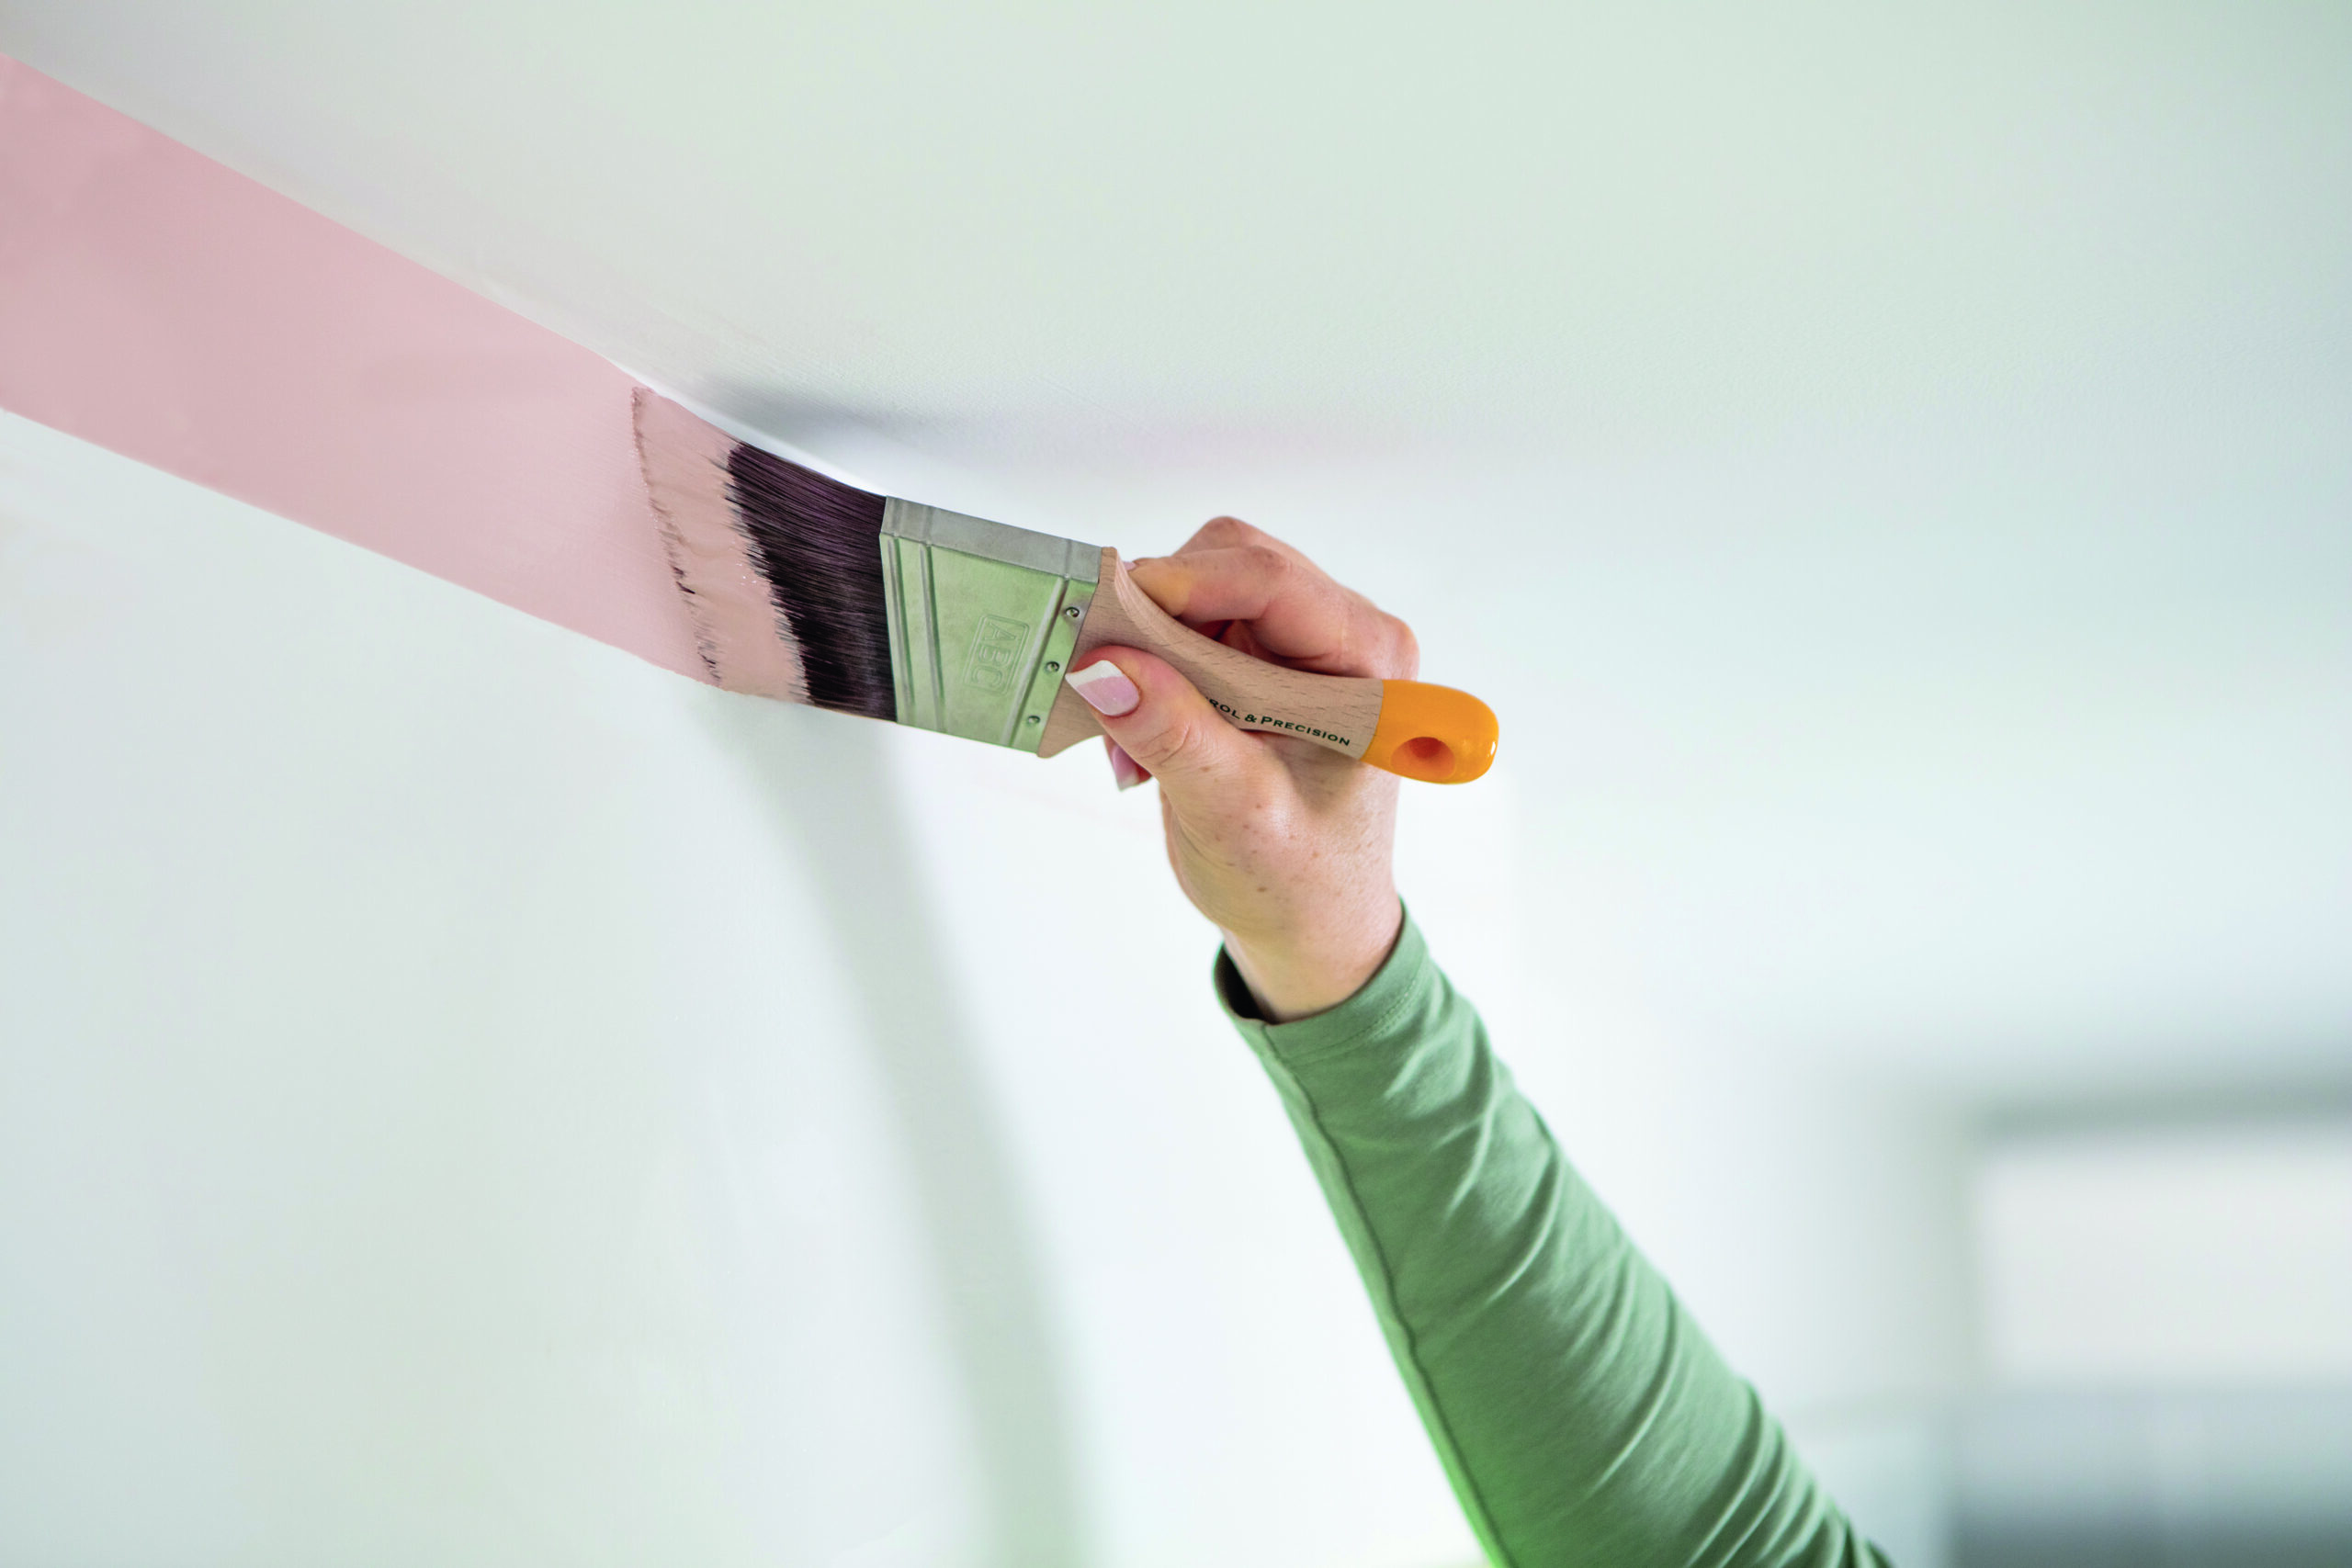
Paint the ceilings first
The reason ceilings should be completed first is so you can paint underneath the lip of the cornice. This can be a tricky area to cover and it will typically result in the paint spreading about 50mm onto the top of the wall. No need to worry – you will cover up this excess paint when you do your walls.
We recommend using our Cornice & Ceiling Brush, as its triangular head gets into those tough spots well.
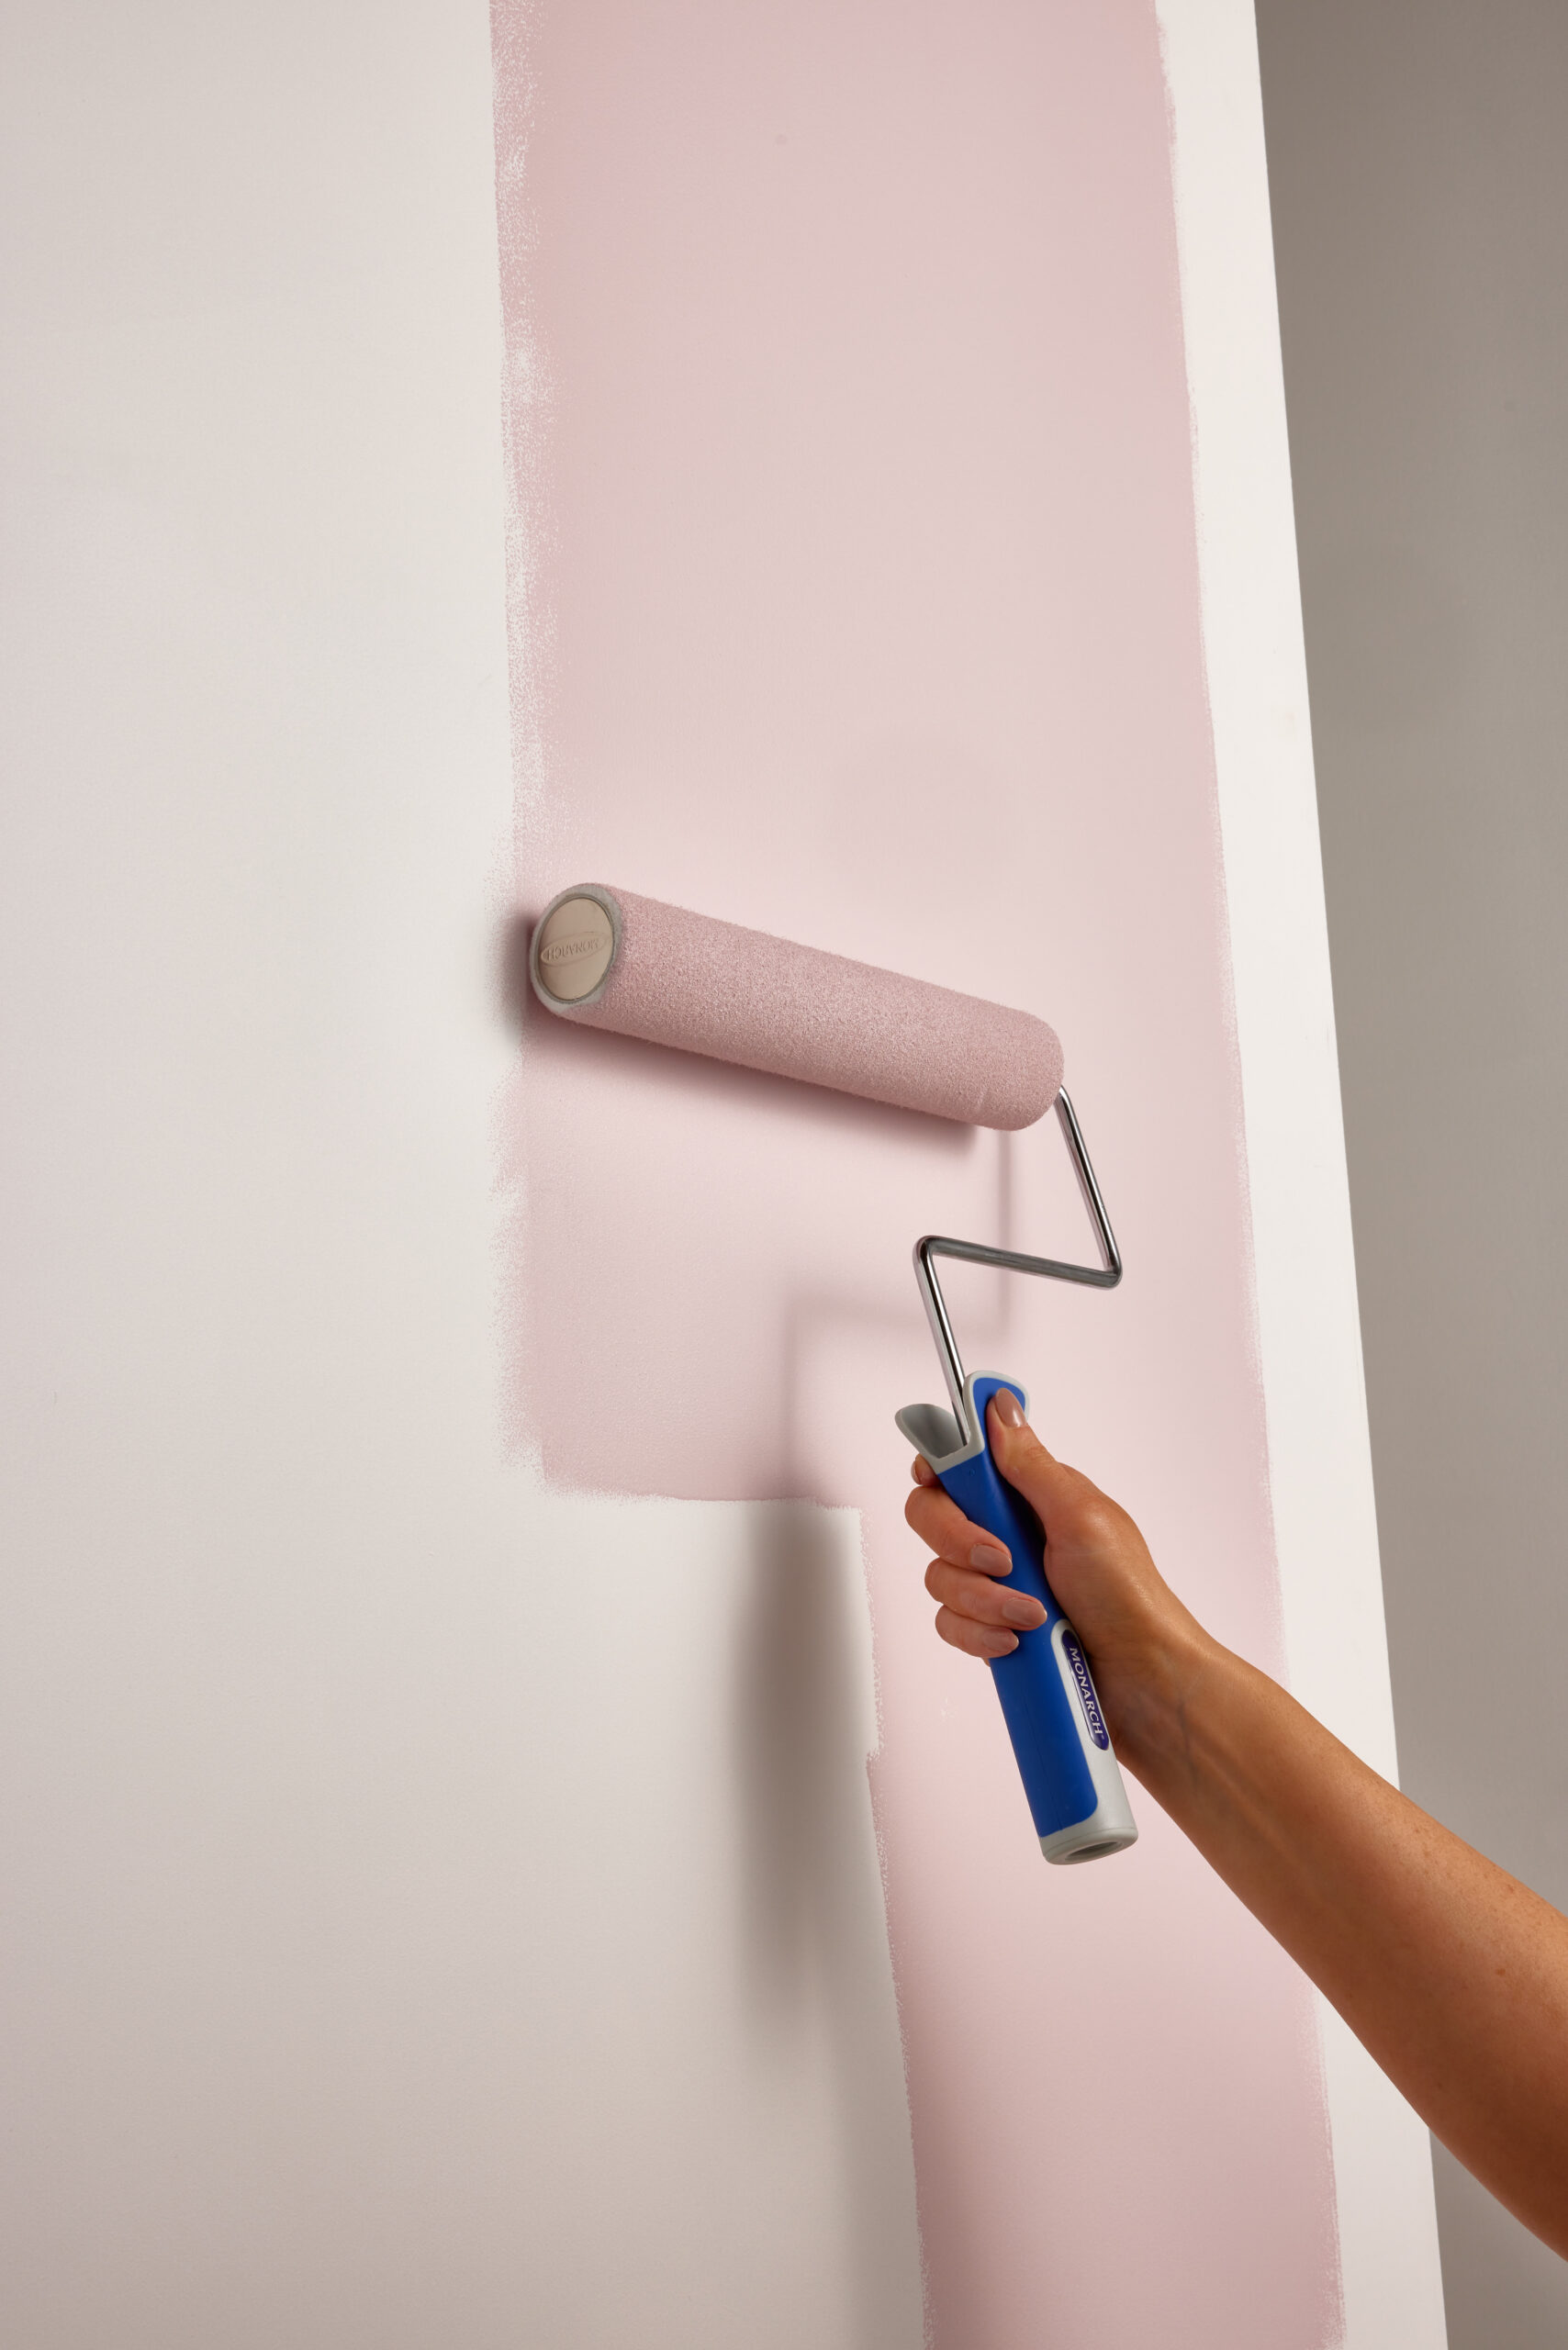
Complete your walls one at a time
When the ceiling is finished, it’s time to paint walls. Focus on each wall in isolation when completing the process of both cutting in and rolling.
Cut in the edges using a Cutting In & Framing Brush. The angled head helps you to paint straighter lines with precision while not losing its shape.
While the edges are still moist, load up your Walls & Ceilings Roller with paint. Using the width of your roller as a guide, tackle your wall in sections. Starting in the mid-section, roll up and down the wall from floor to ceiling a couple of times, to achieve an even, smooth finish.
When you’ve rolled your walls, you’ll noticed that the edges you cut in with the brush have blended together seamlessly.
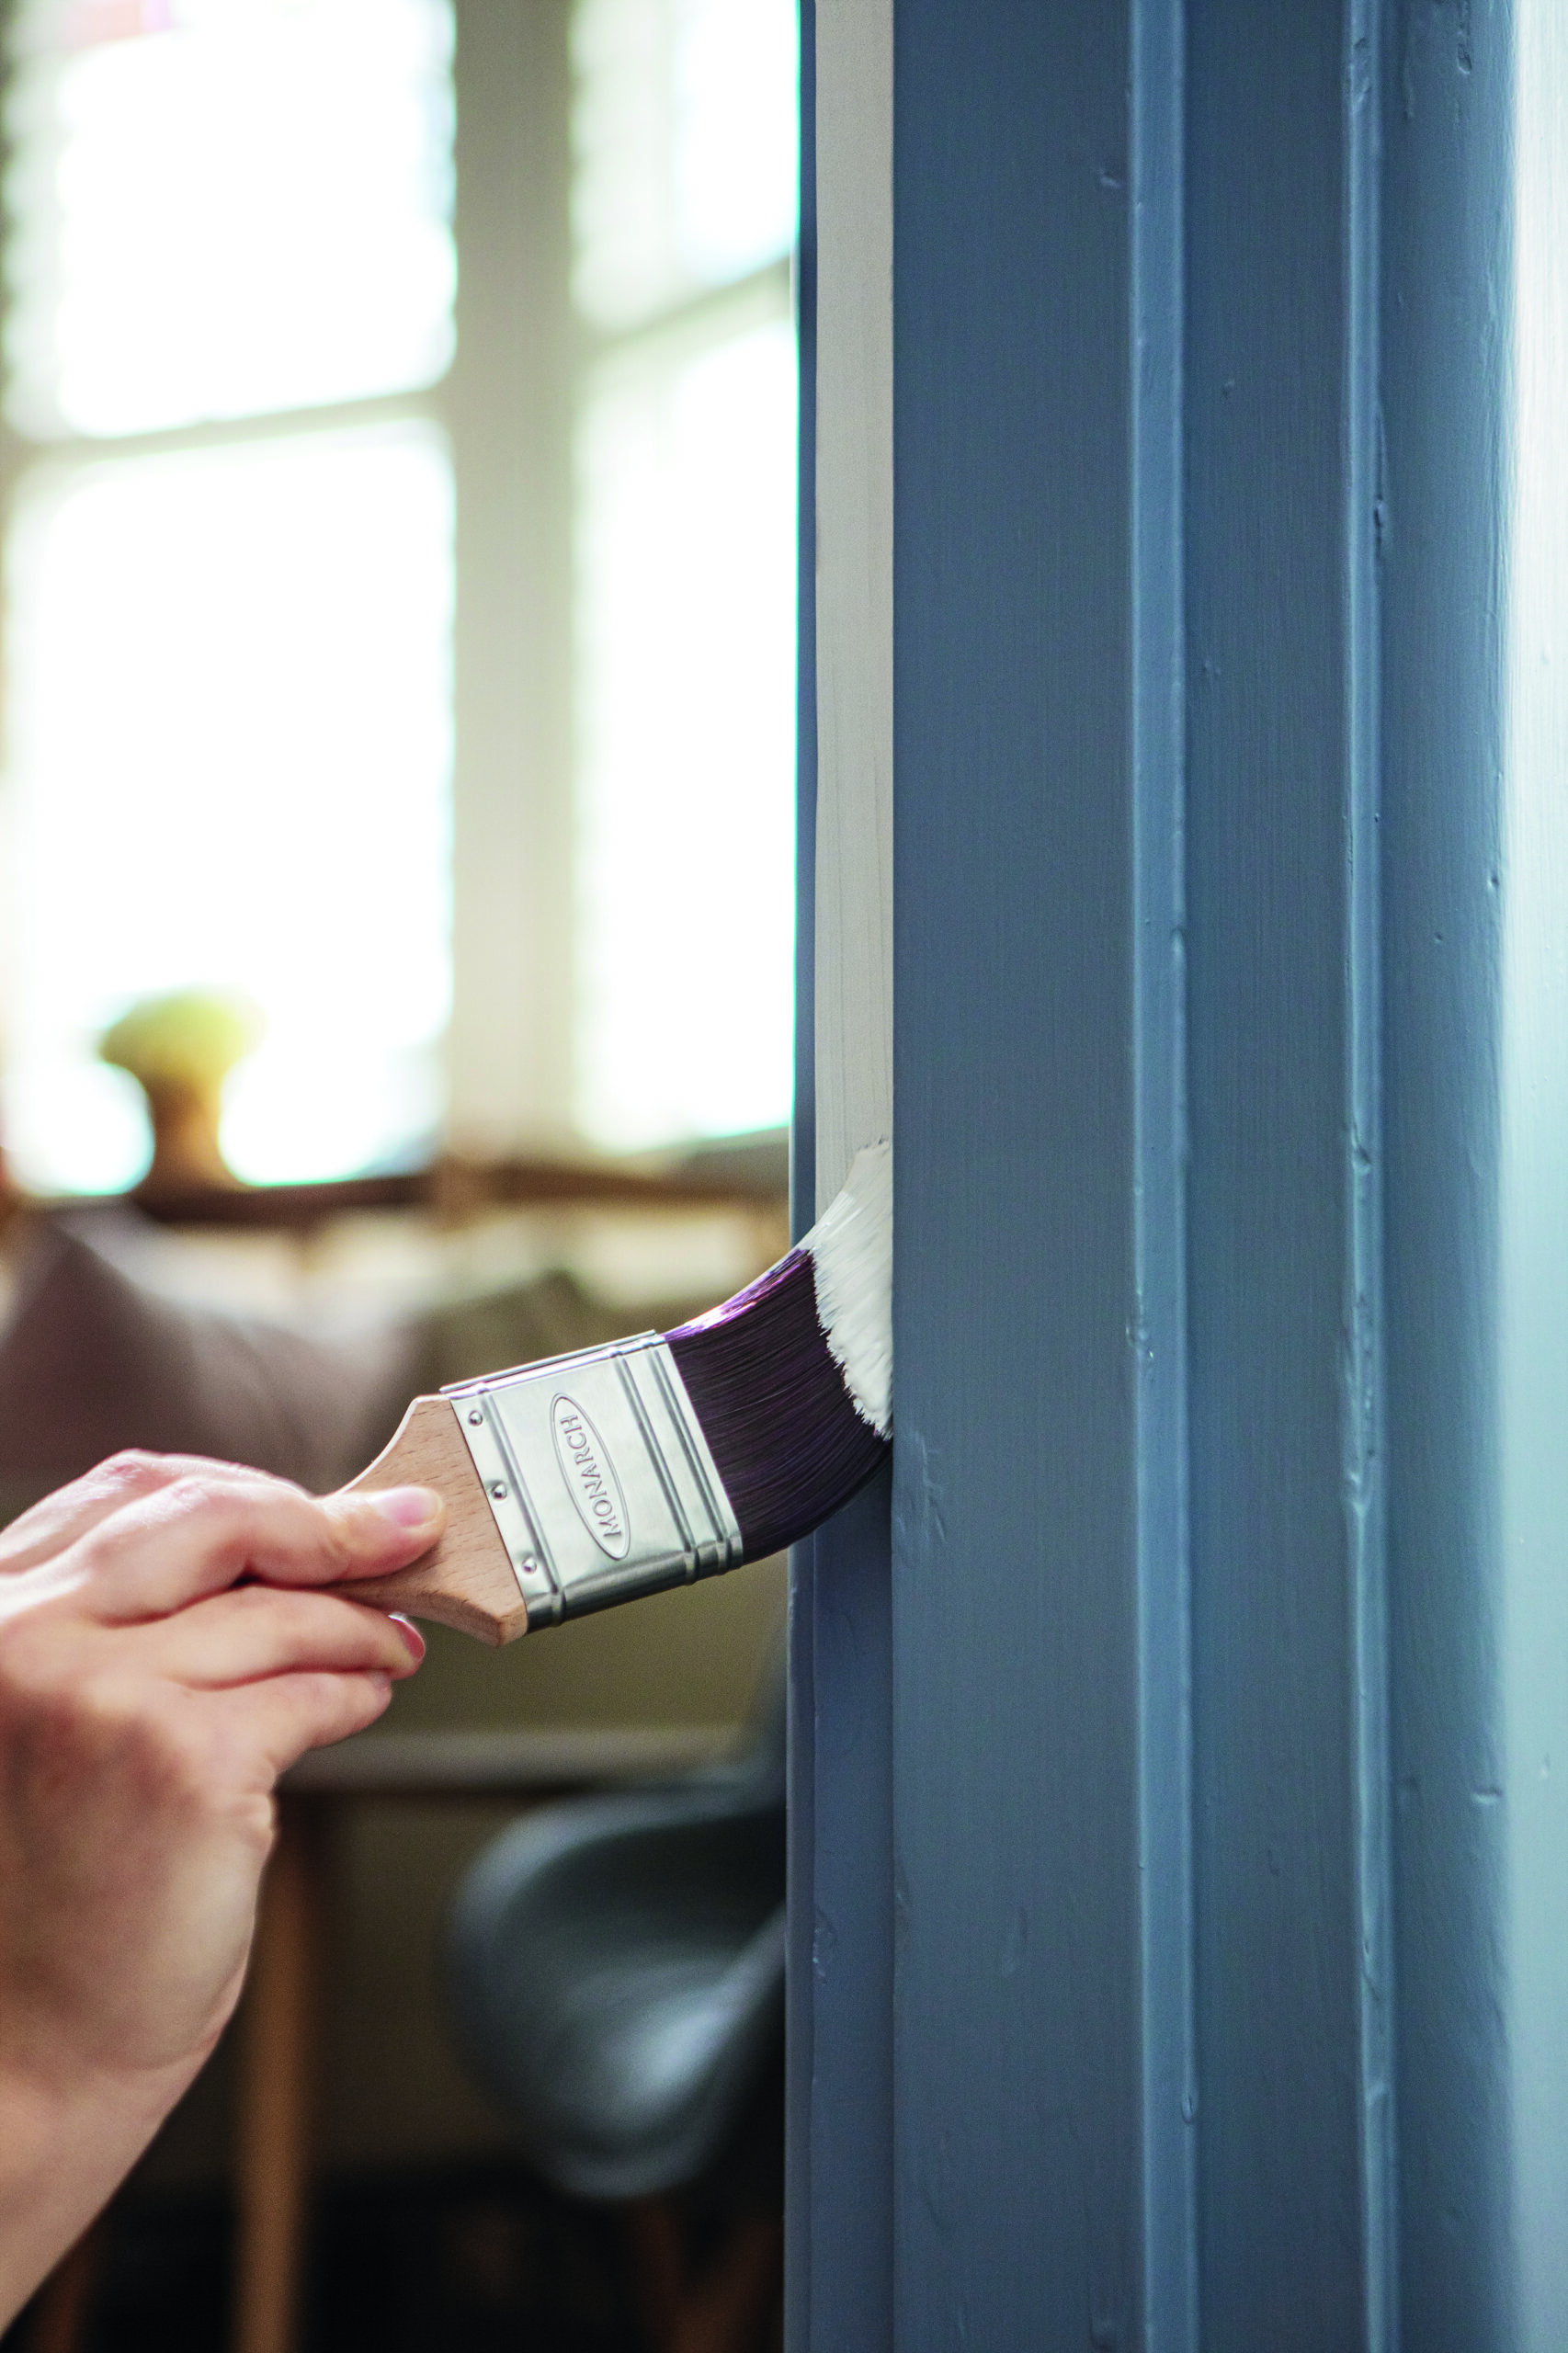
Finish with your trims
Use your Walls, Doors & Trims Brush to paint your trims, such as doors, window frames and skirting boards, as the final step in your interior room job.
HANDY TIP – While we all know it’s important to complete at least two coats of paint on the walls, we recommend also doing a first coat on your trims. During this coat, pay attention to getting good coverage on the edges of the trims that touch the walls.
This way, you can then finish the second coat on walls, and then, doing trims last, you don’t have to paint those hard-to-reach trim edges again. This avoids worrying about getting trim paint on the walls by trying to get perfect straight edges.
For advice on how to select the perfect paint accessory for your next project, take a look at our Painting Tool Kit and discover a bunch of painting tips, tricks and inspiration by following us on Facebook and Instagram.